vloerplanken
How to Cut, Lift, and Replace Floorboards: Quick and Easy Steps
Are you considering renovating your home or replacing damaged floorboards? Knowing how to cut, lift, and replace floorboards can save you time and money. Whether you’re a DIY enthusiast or a professional, this step-by-step guide will provide you with all the necessary information to complete the task quickly and easily.
Table of Contents
- Introduction to Floorboards
- Tools and Materials Needed
- Step 1: Preparing the Area
- Step 2: Cutting the Floorboards
- Step 3: Lifting the Floorboards
- Step 4: Replacing the Floorboards
- Common Questions about Floorboard Replacement
- Conclusion
Introduction to Floorboards
Vloerplanken, also known as floorboards, form the foundation of any flooring system. They are typically made of wood and are laid side by side to create a solid and stable surface. Over time, floorboards may become worn, damaged, or outdated, requiring replacement. By learning how to cut, lift, and replace floorboards, you can refresh the look of your space and maintain the structural integrity of your floors.
Replacing floorboards may seem like a daunting task, but with the right tools, techniques, and a little bit of patience, it can be a straightforward process. Before you begin, it’s important to gather all the necessary materials and familiarize yourself with the steps involved.
Tools and Materials Needed
Before you start cutting, lifting, and replacing floorboards, gather the following tools and materials:
- Measuring tape
- Pencil or marker
- Circular saw or handsaw
- Chisel
- Pry bar or crowbar
- Hammer
- Safety goggles
- Dust mask
- Replacement floorboards
- Nails or screws
- Drill or nail gun
- Sanding paper or electric sander
- Wood filler
- Paint or stain (if desired)
Step 1: Preparing the Area
Before you begin cutting and lifting floorboards, it’s important to prepare the area:
- Clear the room of furniture and any obstacles that may impede your work.
- Ensure the power to the room is turned off to avoid any accidents.
- Identify the floorboards that need to be replaced by inspecting for damage or wear.
- Measure and mark the areas where the floorboards need to be cut.
Step 2: Cutting the Floorboards
Once you’ve prepared the area, it’s time to cut the floorboards:
- Put on safety goggles and a dust mask to protect yourself from debris.
- Using a circular saw or handsaw, carefully cut along the marked lines.
- Make sure to cut through the entire thickness of the floorboard.
- Remove any nails or screws that may be securing the floorboard in place.
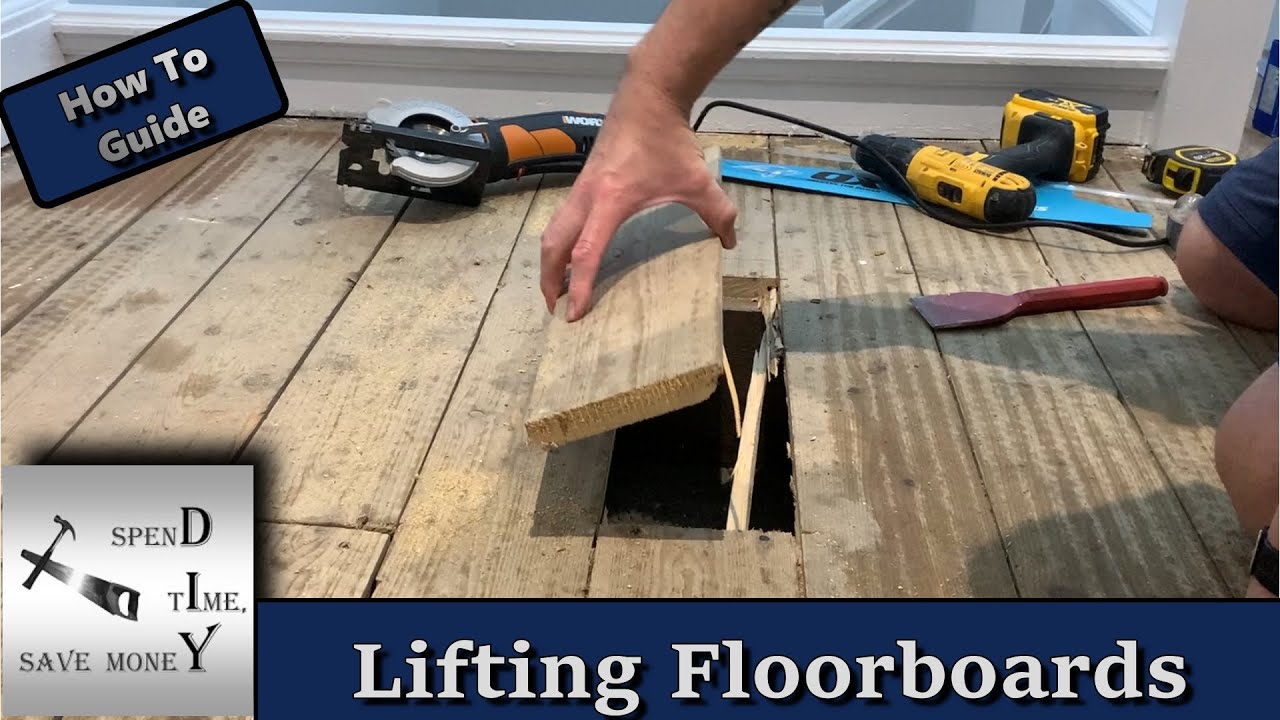
Step 3: Lifting the Floorboards
With the floorboards cut, you can now lift them from their positions:
- Insert a chisel or pry bar between the cut floorboard and the adjacent one.
- Gently tap the chisel or pry bar with a hammer to loosen the floorboard.
- Continue this process along the entire length of the floorboard until it can be lifted.
- Remove any remaining nails or screws from the subfloor.
Step 4: Replacing the Floorboards
Now that the old floorboards are removed, it’s time to replace them with new ones:
- Measure the dimensions of the gap left by the removed floorboard.
- Cut the replacement floorboard to fit the measured dimensions.
- Apply wood filler to any gaps or imperfections in the subfloor.
- Place the replacement floorboard into position.
- Secure the floorboard with nails or screws, ensuring it is flush with the surrounding boards.
- If necessary, sand the floorboard to create a smooth and even surface.
- Apply paint or stain to match the existing floor if desired.
Common Questions about Floorboard Replacement
Can I replace a single floorboard without removing the entire floor?
Yes, it is possible to replace a single floorboard without removing the entire floor. Follow the steps outlined in this guide to cut, lift, and replace the specific floorboard in question.
How do I know if my floorboards need to be replaced?
Inspect your floorboards for signs of damage, such as cracks, rot, or warping. If the damage is extensive or affects the structural integrity of the floor, it is advisable to replace the affected floorboards.
What should I do if the new floorboard doesn’t fit properly?
If the new floorboard doesn’t fit properly, double-check your measurements and make any necessary adjustments. You may need to trim the board further or consider using a different board altogether.
Can I reuse the old floorboards?
Depending on their condition, you may be able to reuse the old floorboards. However, keep in mind that if they were damaged or worn, it’s best to replace them with new ones to ensure a long-lasting and visually appealing result.
Conclusion
Learning how to cut, lift, and replace floorboards is a valuable skill for any homeowner or DIY enthusiast. By following the step-by-step guide outlined in this article, you can confidently tackle your floorboard replacement project. Remember to gather the necessary tools and materials, prepare the area, and take the time to measure and cut the floorboards accurately. With patience and attention to detail, you can achieve a beautiful and functional floor that will enhance the overall aesthetics of your space. Good luck!
During the renovation of a property I have to run services under floorboards. In this video I show how I cut and lift them. And then fit …