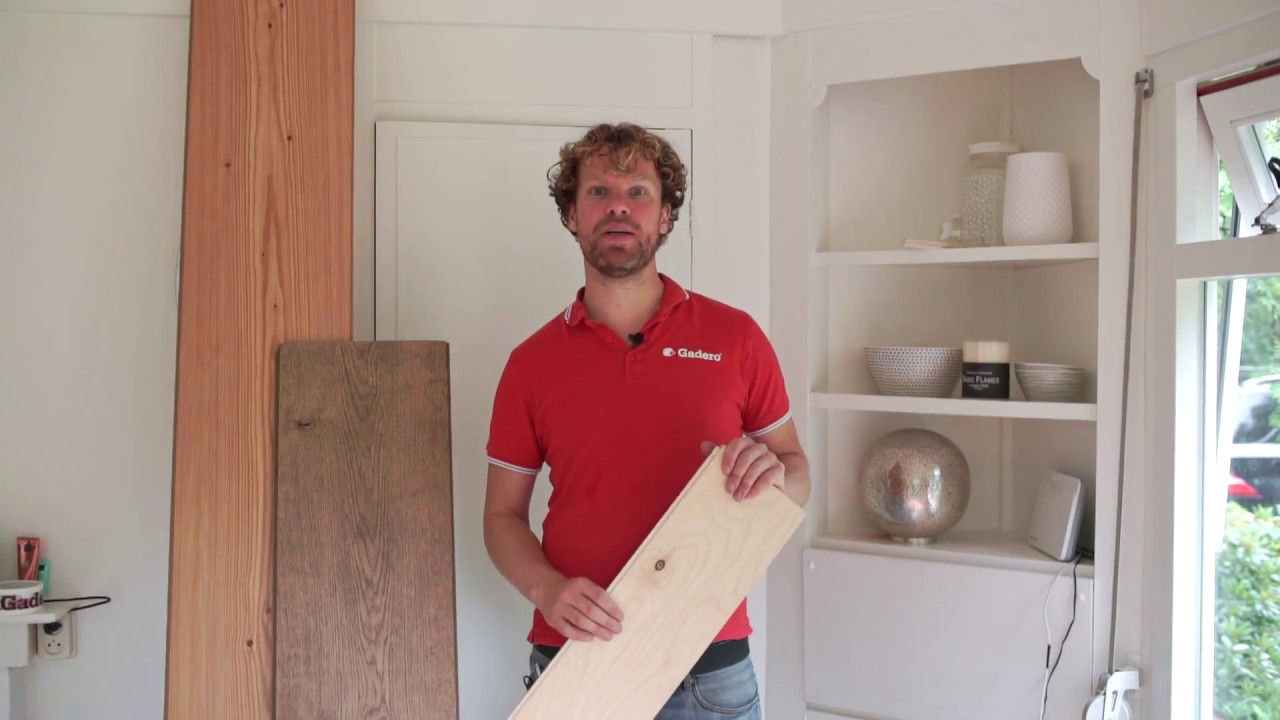
ikea laminaat
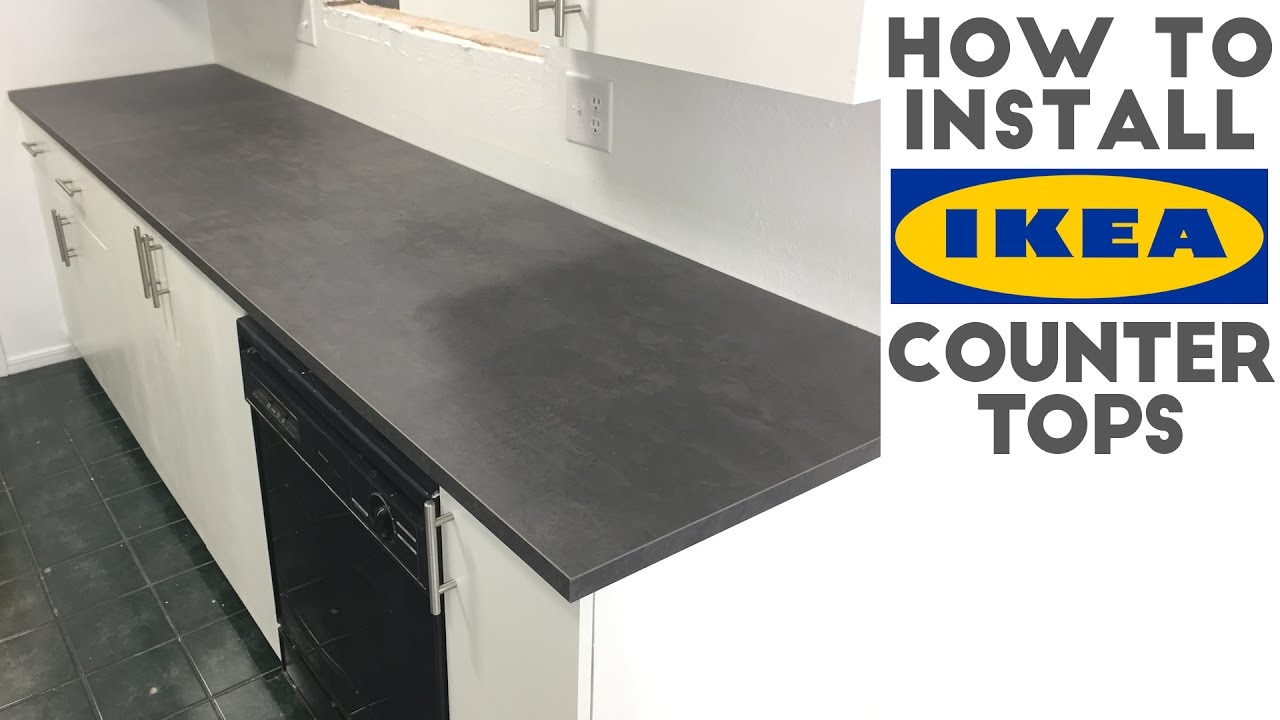
How to Install Laminate / IKEA Countertops | Quick and Easy!
Are you looking to update your kitchen or bathroom with a new countertop? Installing laminate countertops can be a cost-effective and stylish solution. IKEA offers a wide range of laminate countertops that are not only affordable but also easy to install. In this article, we will guide you step by step on how to install laminate countertops from IKEA, ensuring a quick and hassle-free installation process.
Table of Contents
- Introduction
- Preparing for Installation
- Measuring and Cutting the Countertop
- Attaching the Countertop
- Sealing and Finishing Touches
- Maintaining and Cleaning
- Questions and Answers
- Conclusion
Preparing for Installation
Before you begin the installation process, it’s important to gather all the necessary tools and materials. Here’s a list of what you’ll need:
- Measuring tape
- Pencil
- Circular saw or jigsaw
- Clamps
- Screws
- Drill
- Router
- Adhesive
- Sealant
- Level
- Drop cloth
- Caulk gun
Once you have all the necessary tools and materials, you can proceed with the installation process. Make sure to clear off the existing countertop and clean the surface thoroughly before starting.
Measuring and Cutting the Countertop
Accurate measurements are crucial for a successful installation. Start by measuring the dimensions of your cabinets and walls. Take into account any irregularities or obstacles that may affect the installation. Transfer these measurements onto the countertop, making sure to mark the areas where cuts will be required.
Using a circular saw or jigsaw, carefully cut along the marked lines. It’s important to use a fine-toothed blade to prevent splintering or chipping of the laminate. Take your time and double-check your measurements before making any cuts.
Attaching the Countertop
Once the countertop has been cut to the correct size, it’s time to attach it to the cabinets. Place the countertop on the cabinets and ensure it is level. Use clamps to hold it in place while you secure it.
Using a drill, create pilot holes in the underside of the countertop and screw it into the cabinets. Make sure to space the screws evenly along the edges and in the corners for a secure and stable installation. Use a level to ensure the countertop is perfectly horizontal before tightening the screws.
Sealing and Finishing Touches
After the countertop is securely attached, it’s time to seal the edges and apply any finishing touches. Using a router, create a bullnose or beveled edge for a polished look. This step is optional but can greatly enhance the appearance of the countertop.
Apply a bead of adhesive along the edges of the countertop to seal it. This will prevent any water or moisture from seeping in and damaging the laminate. Use a caulk gun to apply the sealant evenly and smoothly. Allow the sealant to dry completely before using the countertop.
Maintaining and Cleaning
Proper maintenance and cleaning are essential to prolong the lifespan of your laminate countertop. Avoid placing hot objects directly on the surface to prevent damage. Clean spills immediately with a mild detergent and a soft cloth. Avoid using abrasive cleaners or scrub brushes, as they can cause scratches.
Regularly inspect the sealant and reapply if necessary. This will ensure that your countertop remains water-resistant and protected. Avoid using sharp objects or knives directly on the surface, as they can leave permanent marks.
Questions and Answers
How do I choose the right laminate countertop from IKEA?
When choosing a laminate countertop from IKEA, consider factors such as color, design, and thickness. IKEA offers a variety of options to suit different styles and budgets. It’s recommended to visit their showroom or browse their catalog to get a better idea of the available options.
Can I install laminate countertops myself, or do I need professional help?
Installing laminate countertops can be a DIY project if you have basic carpentry skills and the necessary tools. However, if you’re unsure or uncomfortable with the installation process, it’s always best to consult a professional to ensure a proper and secure installation.
How long does it take to install laminate countertops?
The installation time can vary depending on the size of the countertop and your level of experience. On average, it takes a few hours to complete the installation process. However, it’s always best to allocate sufficient time and take breaks as needed to ensure accuracy and avoid rushing the process.
Can I install laminate countertops over existing countertops?
Yes, in most cases, you can install laminate countertops over existing countertops. However, it’s important to ensure that the existing surface is clean, level, and free from any damage. If there are any issues with the existing countertops, it’s recommended to address them before proceeding with the installation.
Do I need to hire a professional to cut the laminate countertop?
While it’s possible to cut the laminate countertop yourself using a circular saw or jigsaw, it’s recommended to hire a professional if you’re not confident in your cutting skills. A professional can ensure precise and clean cuts, minimizing the risk of mistakes or damage to the countertop.
Can I install a laminate countertop in a bathroom?
Yes, laminate countertops can be installed in bathrooms. However, it’s important to ensure that the countertop is properly sealed to prevent water damage. Regular maintenance and cleaning are also necessary to prevent moisture buildup and prolong the lifespan of the countertop.
Conclusion
Installing laminate countertops from IKEA can be a rewarding and cost-effective way to update your kitchen or bathroom. By following the step-by-step instructions provided in this guide, you can achieve professional results and enjoy a beautiful and functional countertop. Remember to take accurate measurements, secure the countertop properly, and maintain it regularly to ensure its longevity. With the right tools and a little patience, you can transform your space with stylish and durable laminate countertops.
Cut the laminates upside down if you are using a circular saw. You’ll get less tearout. Thanks to those who mentioned that in the …