interieurfotograaf
How To Shoot and Edit Professional Interior Photography: A Comprehensive Guide
Are you passionate about photography, particularly interior photography? Do you want to capture the beauty of spaces and create stunning images that leave a lasting impression? In this comprehensive guide, we will delve into the world of professional interior photography, providing you with expert tips and techniques to master the art of shooting and editing.
As an interieurfotograaf, it is crucial to possess the necessary skills and knowledge to capture the essence of a space in a photograph. Whether you are photographing residential or commercial interiors, understanding the nuances of composition, lighting, and post-processing is essential to create visually striking images.
Table of Contents
- Understanding Composition: Framing the Perfect Shot
- Mastering Lighting Techniques for Interior Photography
- Essential Gear for Professional Interior Photography
- Post-Processing: Enhancing and Polishing Your Images
- Tips for Creating Stunning Interior Photography
- Common Mistakes to Avoid in Interior Photography
- Questions and Answers
Understanding Composition: Framing the Perfect Shot
Composition plays a vital role in creating impactful interior photographs. It involves arranging elements within the frame to create a visually pleasing and balanced image. Here are some key considerations:
1. Balance: Achieving a sense of balance in your composition is crucial. Consider the visual weight of objects within the frame and distribute them evenly to create a harmonious image.
2. Rule of Thirds: The rule of thirds is a fundamental principle in photography. Divide your frame into a 3×3 grid and position key elements along the intersecting lines or at their intersections to create a visually appealing composition.
3. Leading Lines: Utilize leading lines to guide the viewer’s eye through the image. This could be the lines created by architectural features, furniture, or other elements within the space.
4. Depth and Perspective: Create a sense of depth and perspective by incorporating foreground, middle ground, and background elements. This adds dimension and visual interest to your photographs.
5. Framing: Use doorways, windows, or architectural elements to frame your subject and draw attention to it. This technique adds depth and visual impact to your images.
6. Symmetry and Patterns: Symmetry and patterns can create a visually striking composition. Look for symmetrical elements within the space and position yourself accordingly to capture them.
7. Negative Space: Embrace negative space to draw attention to your subject and create a sense of simplicity and elegance in your composition.
By understanding and applying these composition techniques, you can capture striking interior photographs that engage viewers and effectively showcase the space.
Mastering Lighting Techniques for Interior Photography
Lighting is a crucial aspect of interior photography. Properly utilizing natural and artificial light can dramatically enhance the mood and overall quality of your images. Here are some key lighting techniques to consider:
1. Natural Light: Take advantage of natural light whenever possible. Position yourself strategically to capture the soft, diffused light that enters the space through windows. Avoid harsh shadows and overexposure by shooting during the golden hour or on cloudy days.
2. Artificial Light: Supplement natural light with artificial lighting sources to ensure proper exposure and eliminate unwanted shadows. Use a combination of ambient, fill, and accent lights to create a balanced and well-lit scene.
3. Light Modifiers: Diffusers, reflectors, and bounce cards can be used to manipulate and control light. Diffusers soften harsh light, while reflectors and bounce cards redirect and enhance natural or artificial light.
4. Light Painting: Light painting involves using a handheld light source, such as a flashlight, to selectively illuminate specific areas of the scene. This technique can add drama and highlight key features within the space.
5. Mixed Lighting: When shooting interiors with different types of lighting, such as a combination of natural light and artificial sources, carefully balance the color temperatures to achieve a cohesive and natural-looking image.
Mastering these lighting techniques will allow you to create visually stunning interior photographs that accurately represent the space and evoke the desired mood.
Essential Gear for Professional Interior Photography
To capture professional interior photographs, it is essential to have the right gear. While equipment requirements may vary depending on your specific needs, here are some essential tools and accessories to consider:
1. Camera: Invest in a high-quality DSLR or mirrorless camera with manual controls and interchangeable lenses. This will give you the flexibility to capture a wide range of shots and control settings such as aperture, shutter speed, and ISO.
2. Wide-Angle Lens: A wide-angle lens is essential for interior photography as it allows you to capture the entire space in a single frame. Look for lenses with a focal length between 14mm and 24mm for optimal results.
3. Tripod: A sturdy tripod is essential for capturing sharp, well-composed images, especially in low-light situations. It provides stability and allows for longer exposure times without camera shake.
4. Remote Shutter Release: A remote shutter release or cable release helps eliminate camera shake when capturing long-exposure shots. It is particularly useful in situations where a tripod is necessary.
5. Flash and Lighting Equipment: Depending on your lighting needs, consider investing in a reliable external flash and lighting equipment such as strobes or continuous lights. These can enhance the overall lighting in the space.
6. Editing Software: Post-processing is an integral part of professional interior photography. Invest in editing software such as Adobe Lightroom or Capture One to fine-tune your images and achieve the desired look.
Having the right gear can significantly improve the quality of your interior photographs and provide you with the tools necessary to capture stunning images.
Post-Processing: Enhancing and Polishing Your Images
Post-processing is a crucial step in the professional interior photography workflow. It allows you to enhance and polish your images to achieve the desired aesthetic. Here are some key considerations:
1. RAW Format: Shoot in RAW format to retain maximum image data and flexibility during post-processing. RAW files contain more information and allow for greater control over exposure, white balance, and color adjustments.
2. Exposure and White Balance: Adjust the exposure and white balance to accurately represent the colors and lighting conditions of the space. This ensures a natural and visually pleasing final image.
3. Lens Corrections: Correct any lens distortions, chromatic aberrations, or vignetting that may be present in your images. Most editing software provides automatic or manual lens correction tools.
4. Color Grading: Experiment with color grading techniques to achieve a specific mood or aesthetic. Adjust the saturation, contrast, and hue of different colors to create a cohesive and visually appealing image.
5. Dodge and Burn: Use dodge and burn techniques to selectively brighten or darken specific areas of the image. This can help emphasize key features and create a sense of depth and dimension.
6. Sharpening and Noise Reduction: Apply appropriate sharpening and noise reduction techniques to enhance the overall clarity and quality of your images. Be mindful not to overdo these adjustments, as it can result in unnatural-looking images.
By mastering the art of post-processing, you can take your interior photographs to the next level, creating visually stunning images that leave a lasting impression.
Tips for Creating Stunning Interior Photography
Here are some additional tips and techniques to help you capture stunning interior photographs:
1. Clean and Declutter: Before shooting, ensure the space is clean and clutter-free. Remove any distracting objects or personal belongings to create a polished and visually appealing environment.
2. Experiment with Angles: Don’t be afraid to explore different angles and perspectives. Capture wide shots to showcase the entire space, as well as close-ups to highlight key details and architectural features.
3. Use Props and Styling: Incorporate props and styling elements to add interest and personality to your images. This could include fresh flowers, decorative objects, or strategically placed furniture.
4. Play with Textures and Materials: Highlight textures and materials within the space to add visual interest. Capture details such as exposed brick walls, wooden floors, or luxurious fabrics to create a sense of depth and richness.
5. Tell a Story: Aim to capture images that tell a story and evoke emotions. Think about the purpose and function of the space and convey it through your photographs.
6. Continuous Learning: Keep honing your skills and stay updated with the latest trends and techniques in interior photography. Attend workshops, read books, and follow industry professionals to continually improve your craft.
By implementing these tips and techniques, you can create stunning interior photographs that captivate viewers and showcase the beauty of any space.
Common Mistakes to Avoid in Interior Photography
While mastering the art of professional interior photography, it is essential to be aware of common mistakes and pitfalls. Here are some mistakes to avoid:
1. Poor Lighting: Inadequate lighting can result in dull and uninteresting images. Invest time in understanding lighting techniques and use appropriate lighting equipment to achieve visually appealing results.
2. Overediting: It is easy to get carried away during the post-processing stage. Avoid excessive editing, as it can result in unrealistic and unnatural-looking images. Strive for a balance between enhancement and maintaining the authenticity of the space.
3. Crooked Horizons: Pay attention to the horizon line and ensure it is level in your photographs. Crooked horizons can distract viewers and create a sense of imbalance.
4. Lack of Attention to Details: Small details can make a significant impact in interior photography. Pay attention to elements such as crooked lampshades, tangled cords, or smudged surfaces, as they can detract from the overall quality of your images.
5. Inconsistent Color Temperature: Maintaining consistent color temperature is crucial when shooting interiors. Be mindful of mixed lighting sources and adjust white balance settings accordingly to create a cohesive and visually pleasing image.
Avoiding these common mistakes will help you capture professional interior photographs that stand out and effectively showcase the beauty of the space.
Questions and Answers
Q: How important is it to shoot in RAW format for interior photography?
A: Shooting in RAW format is highly recommended for interior photography. RAW files contain more image data, allowing for greater flexibility during post-processing. They provide better control over exposure, white balance, and color adjustments, resulting in a more accurate representation of the space.
Q: Can I use a smartphone for interior photography?
A: While smartphones have improved significantly in terms of camera quality, they may not offer the same level of control and flexibility as DSLR or mirrorless cameras. For professional interior photography, it is recommended to use a dedicated camera with manual controls and interchangeable lenses to achieve optimal results.
Q: How can I create a sense of depth in my interior photographs?
A: To create a sense of depth, incorporate foreground, middle ground, and background elements within your composition. Utilize leading lines to guide the viewer’s eye through the image and use framing techniques to add depth and visual impact. Additionally, playing with light and shadows can also enhance the perception of depth in your photographs.
Q: What is the best time of day to shoot interior photography?
A: The best time of day to shoot interior photography depends on various factors, such as the direction of natural light and the desired mood. Generally, the golden hour (early morning or late afternoon) provides soft, warm light that can create a beautiful ambiance. However, shooting during the day or even at night can also yield stunning results, depending on the space and the intended outcome.
Q: How can I make my interior photographs stand out?
A: To make your interior photographs stand out, focus on creating visually striking compositions, utilizing creative angles, and paying attention to details. Experiment with different lighting techniques to enhance the mood and atmosphere of the space. Additionally, post-processing plays a crucial role in polishing your images and achieving a unique aesthetic.
Q: How can I improve my interior photography skills?
A: Continuous learning and practice are key to improving your interior photography skills. Attend workshops, take online courses, and study the work of industry professionals for inspiration. Experiment with different techniques, lighting setups, and compositions to expand your creative horizon. Don’t be afraid to seek feedback and learn from your mistakes.
Q: Can I edit my interior photographs using mobile apps?
A: While mobile apps can offer basic editing capabilities, they may not provide the same level of control and precision as professional editing software. For more advanced post-processing, it is recommended to use software such as Adobe Lightroom or Capture One on a computer to achieve the best results.
Q: How important is it to have a wide-angle lens for interior photography?
A: A wide-angle lens is essential for interior photography as it allows you to capture the entire space in a single frame. It provides a wider field of view, enabling you to showcase the room’s layout, architectural features, and overall ambiance. However, be mindful of distortion and perspective issues that can occur with extreme wide-angle lenses.
Conclusion
Mastering the art of shooting and editing professional interior photography requires a combination of technical skills, creative vision, and attention to detail. By understanding composition techniques, utilizing proper lighting, investing in essential gear, and honing your post-processing skills, you can capture stunning images that showcase the beauty of any space. Remember to experiment, continuously learn, and push the boundaries of your creativity to elevate your interior photography to new heights.
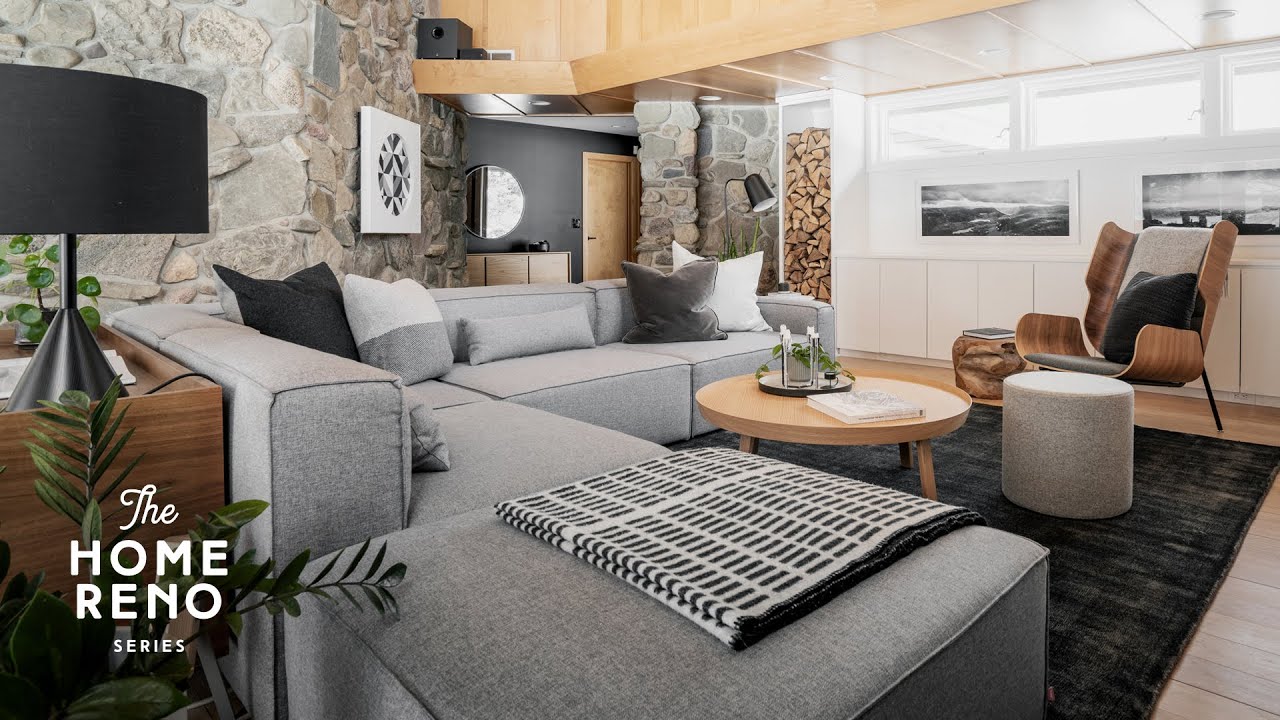
In todays video I’m walking through how I shoot a room from start to finish! I show you how I edit my images, talk about why I don’t …